Understanding the Causes of Tile Cracks
Common Factors Leading to Cracked Tiles
Cracked tiles can be a frustrating issue to deal with, and understanding the root causes is essential for effective repair and prevention. Common factors that lead to cracked tiles include:
- Structural Movement: Shifts in the building foundation or subfloor can create stress points that cause tiles to crack.
- Improper Installation: Incorrect adhesive application or uneven subfloor surfaces can weaken the bond and lead to cracking.
- Temperature Changes: Expansion and contraction due to temperature fluctuations can weaken tile integrity, especially in outdoor spaces.
- Heavy Impact or Dropped Objects: Dropping heavy items onto tiles can cause immediate cracks or chips.
- Substrate Issues: Moisture damage or settling beneath the tiles can lead to instability and cracking.
Types of Cracks You May Encounter
Recognizing the type of crack can help determine the best approach to repair. Common types of tile cracks include:
- Hairline Cracks: Very thin, superficial cracks that usually do not compromise the tile’s structural integrity.
- Surface Cracks: More visible cracks that affect the surface glaze but may not extend deep into the tile.
- Full-Depth Cracks: Cracks that go through the entire tile, requiring more extensive repair or replacement.
- Spiderweb Cracks: A network of fine cracks often caused by sudden impact or stress.
- Corner or Edge Cracks: Cracks appearing at the edge or corner of tiles, often from impact or pressure.
Assessing the Damage Before Repair
How to Determine If a Crack Can Be Repaired
Not all tile cracks require full replacement. To decide if a crack can be repaired, consider the following:
- Size and Depth: Hairline and surface cracks can often be repaired, while full-depth cracks may need tile replacement.
- Location: Cracks in low-traffic areas are often easier and more effective to repair than those in high-impact zones.
- Tile Material: Some materials, like ceramic, are more amenable to repair than natural stone tiles.
- Extent of Damage: If multiple tiles are affected or the cracks are spreading, replacement might be the better option.
Tools and Materials Needed for Inspection
Before starting repairs, gather the following tools and materials to properly assess the damage:
- Flashlight or bright light source for detailed inspection
- Magnifying glass to examine fine cracks
- Ruler or measuring tape to measure crack size
- Screwdriver or similar tool to test tile stability
- Moisture meter to detect any underlying dampness
- Protective gloves and safety glasses for personal safety
Step-by-Step DIY Repair Methods for Cracked Tiles
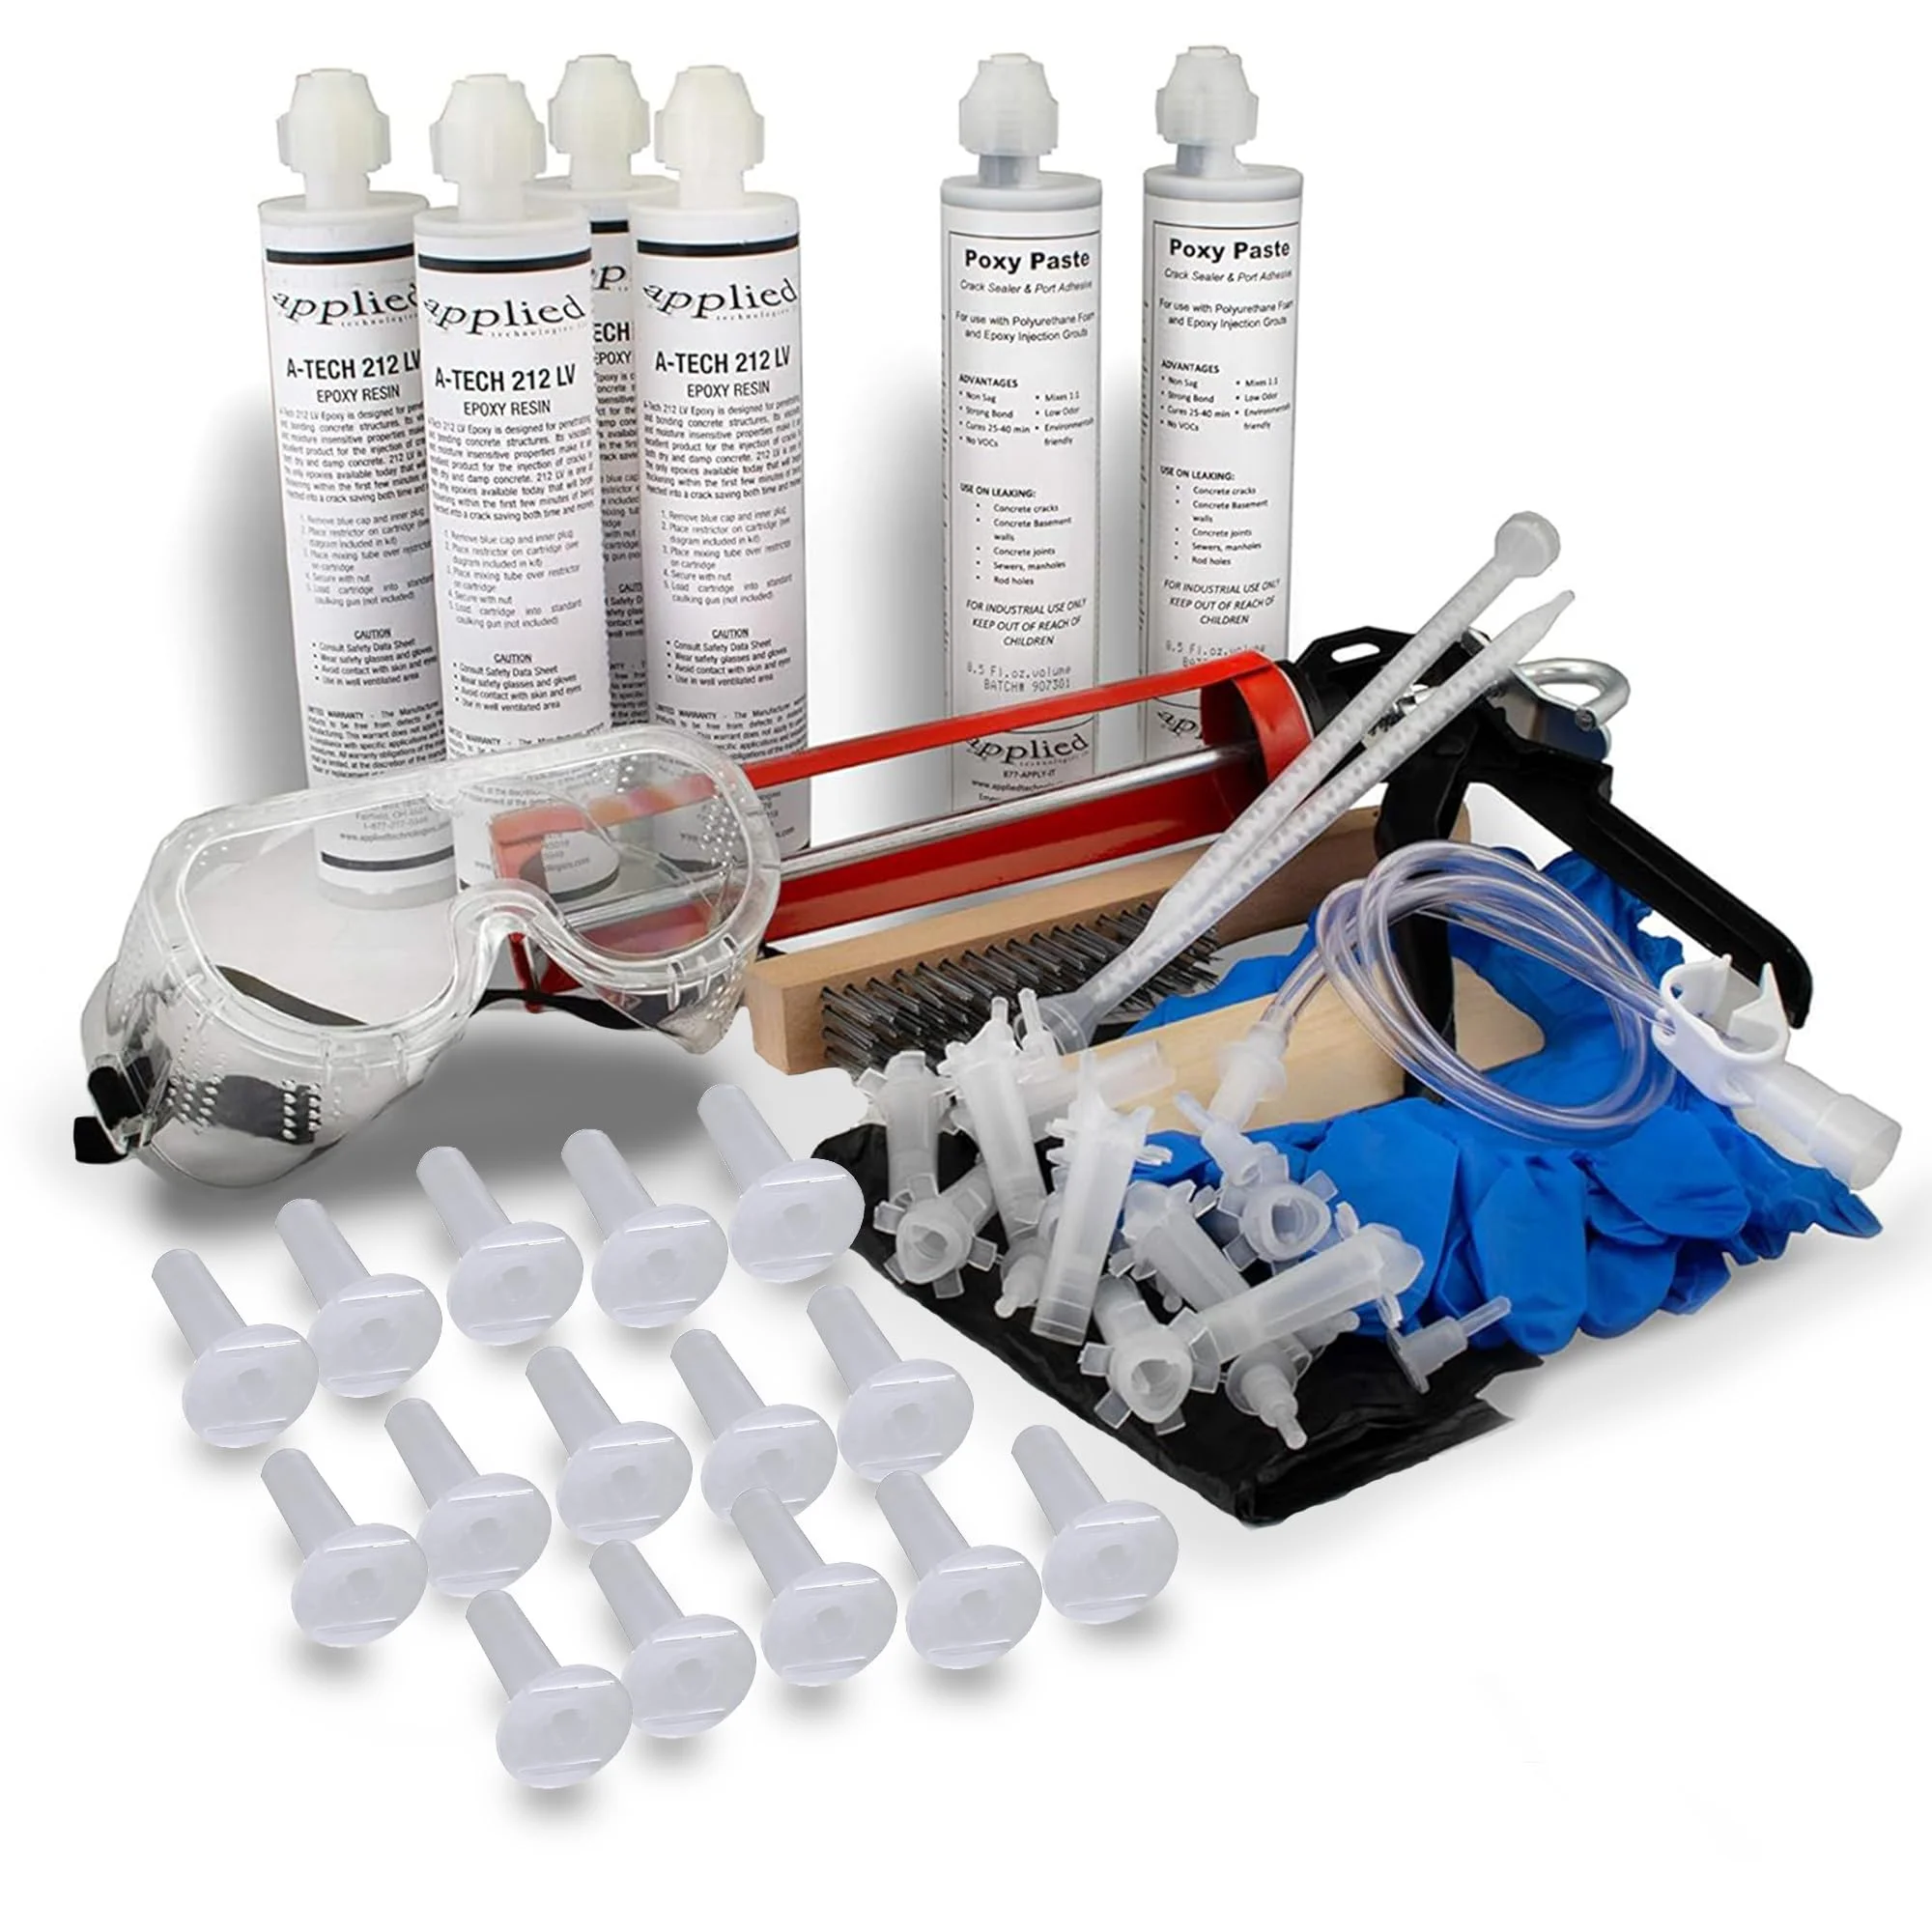
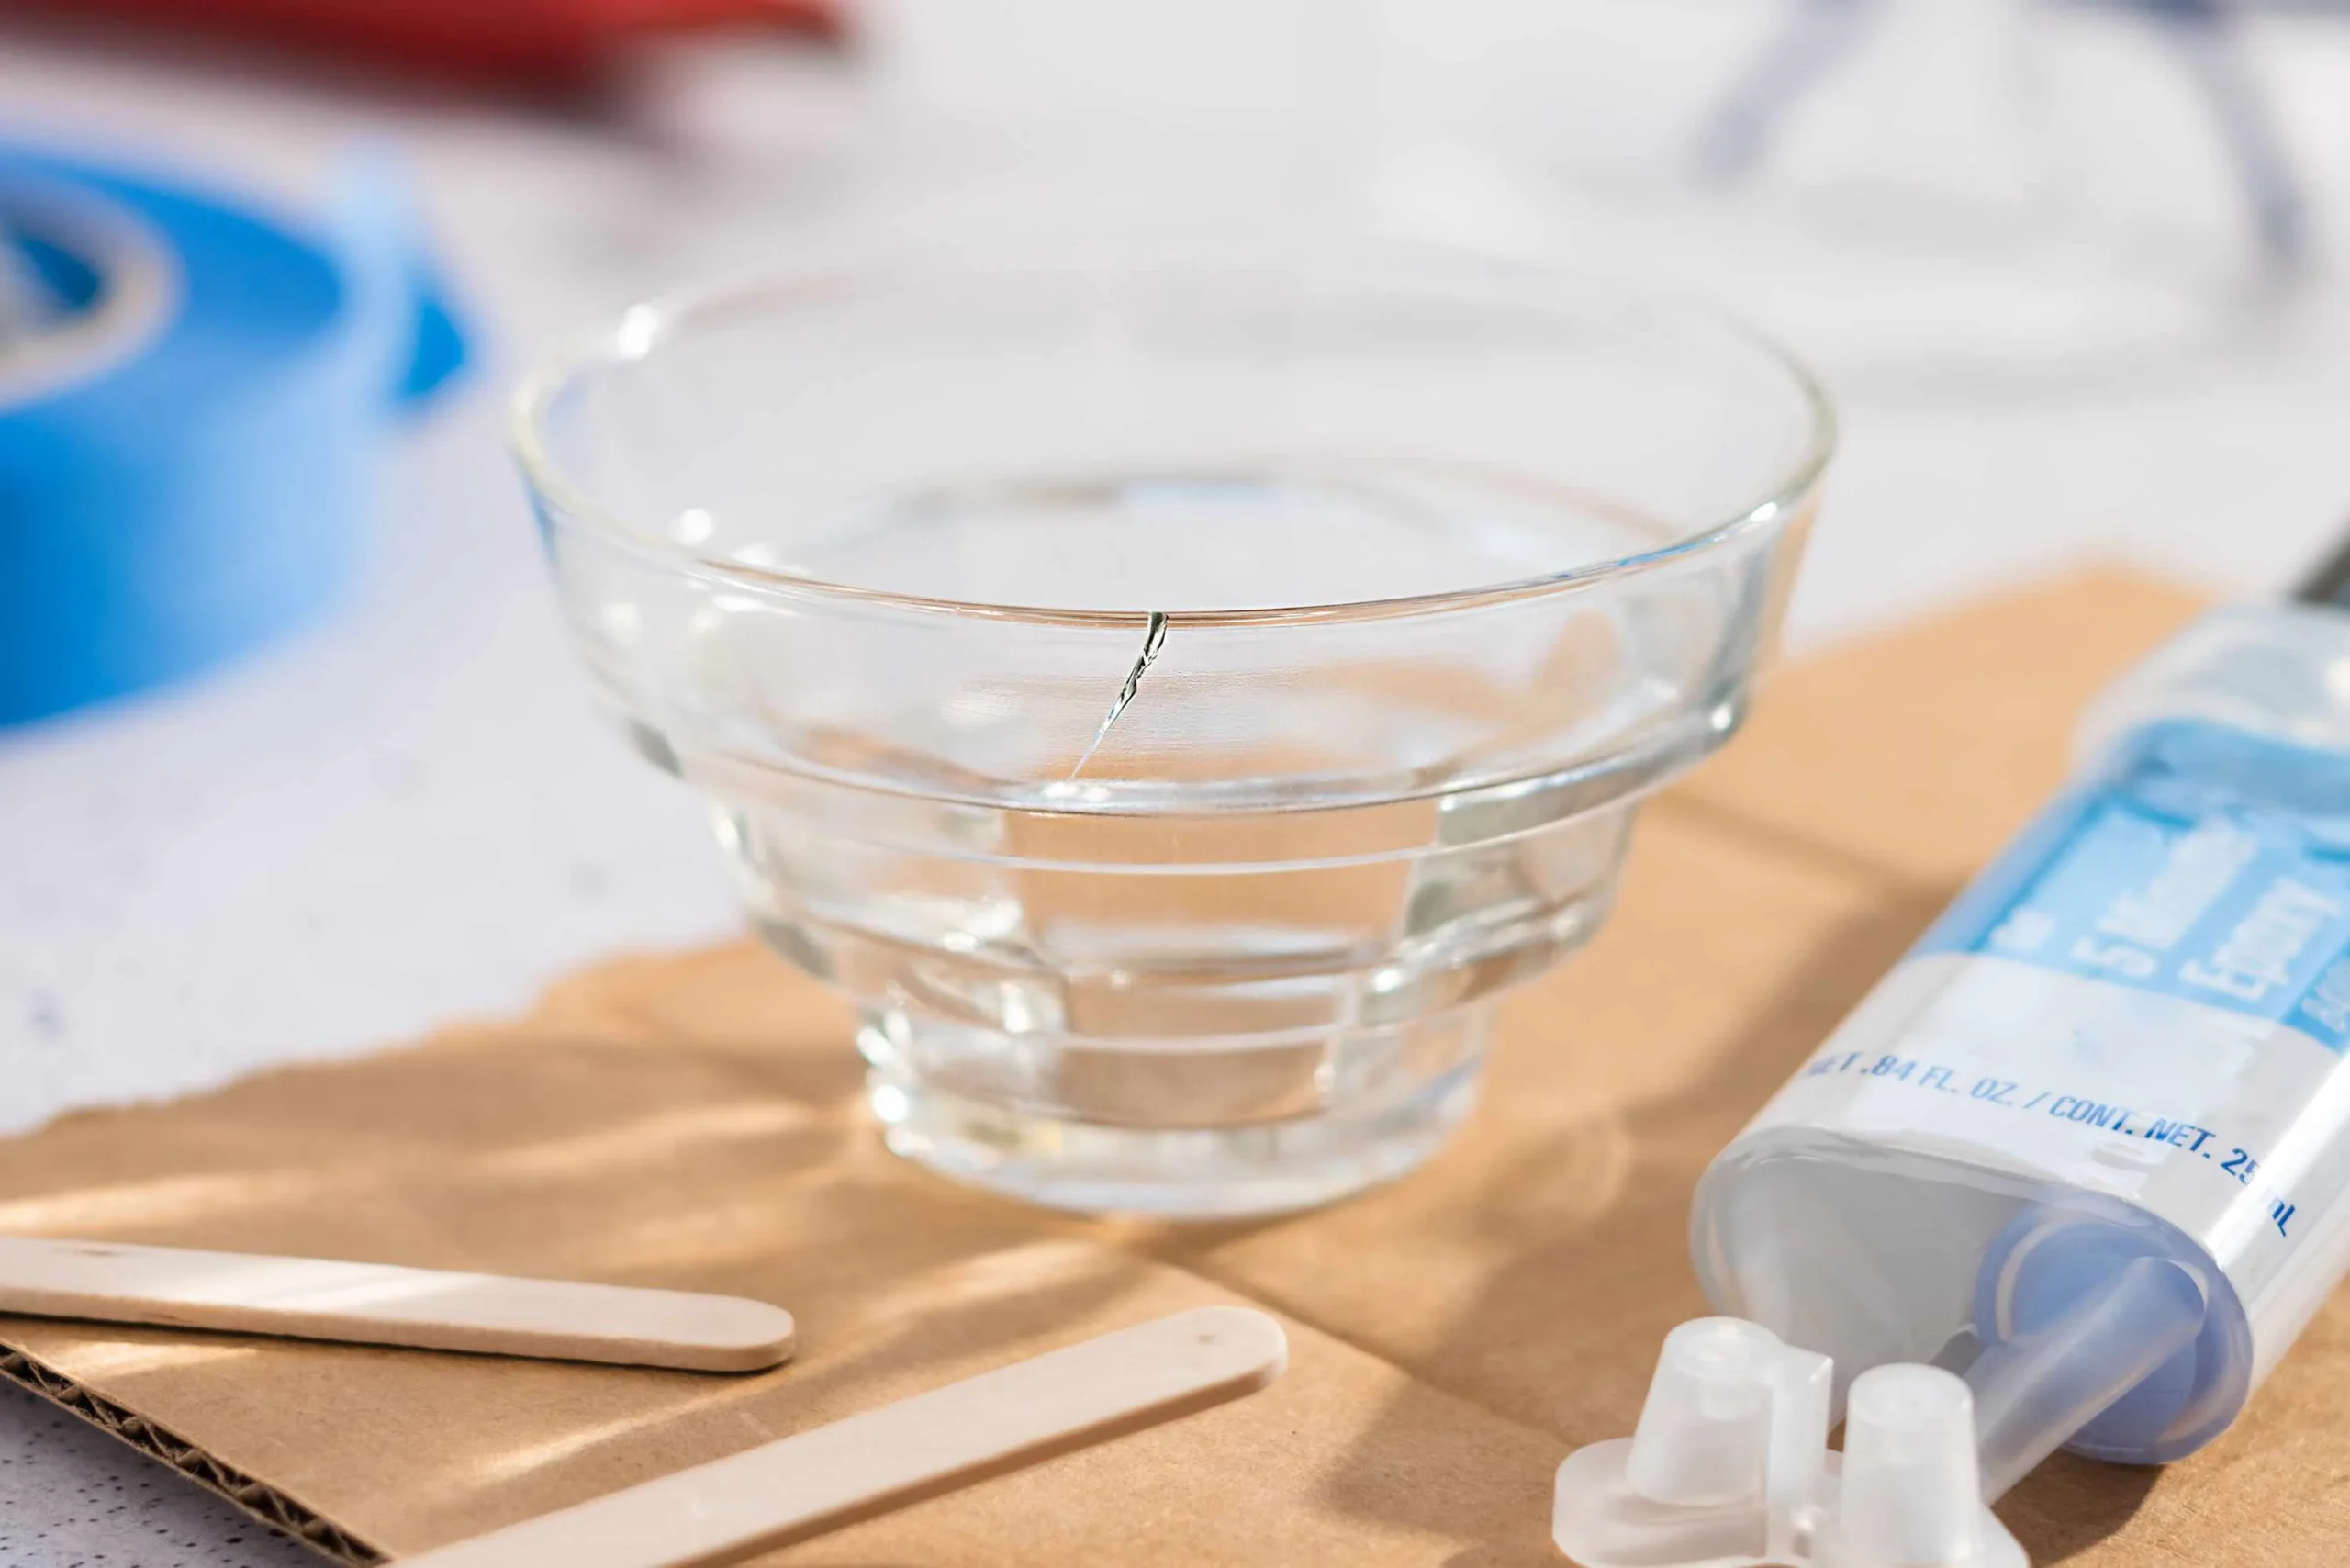
Using Epoxy or Adhesive Fillers
Epoxy or adhesive fillers are effective for repairing small to medium cracks, providing a strong and durable fix. Follow these steps:
- Clean the cracked area thoroughly, removing dirt and debris.
- Mix the epoxy or adhesive filler according to the manufacturer’s instructions.
- Use a small applicator or toothpick to carefully fill the crack with the epoxy.
- Remove excess filler from the tile surface before it cures.
- Allow the filler to cure completely, as specified on the product label.
- Sand the repaired area gently to smooth it out and blend it with the surrounding tile.
Applying Colored Grout to Conceal Minor Cracks
Colored grout can be used to hide minor cracks and improve the tile’s appearance without full replacement. Here is how to apply it:
- Clean the grout lines and cracked area to ensure good adhesion.
- Choose a grout color that closely matches the existing grout.
- Apply the colored grout into the cracks using a small brush or spatula.
- Wipe off any excess grout from the tile surface with a damp sponge.
- Allow the grout to dry fully, typically 24 hours.
- Seal the area with a grout sealer for added durability and water resistance.
Tile Painting Techniques to Camouflage Damage
For superficial cracks and aesthetic touch-ups, tile painting is an excellent solution. Follow these tips:
- Clean the tile surface thoroughly and remove any loose particles.
- Lightly sand the cracked area to promote paint adhesion.
- Use high-quality ceramic or tile paint that matches the tile color.
- Apply paint carefully over the cracks using a fine brush.
- Let the paint dry between coats and apply multiple layers if necessary.
- Seal the painted area with a clear, waterproof sealer to protect the finish.
Preventive Tips to Avoid Future Tile Damage
Proper Cleaning and Maintenance Practices
Maintaining your tiles properly can significantly reduce the risk of cracks in the future. Consider the following practices:
- Use gentle, non-abrasive cleaning agents to avoid damaging the tile surface.
- Clean spills promptly to prevent moisture seeping beneath the tiles.
- Regularly inspect grout lines and reseal them as needed to maintain their integrity.
- Avoid dragging heavy furniture or objects across tiled floors.
- Use floor protectors under furniture legs to distribute weight evenly.
Structural Adjustments to Minimize Stress on Tiles
Addressing underlying structural issues can prevent future tile damage. Key adjustments include:
- Ensure the subfloor is level, stable, and free from excessive moisture before installation.
- Install expansion joints in large tiled areas to accommodate movement.
- Address foundation or settling problems promptly with professional help.
- Use appropriate adhesives and grouts designed for specific tile materials and conditions.
- Avoid excessive weight and impact on tiled surfaces by distributing loads evenly.

